Crispy Medu Vada Recipe Using Urad Dal (Fool Proof Method)
If you have ever tried making medu vada at home and ended up with flat, oily, misshapen fritters instead of the crispy, ring shaped vadas you get at a good South Indian restaurant, you are not alone. Medu vada has a reputation for being difficult to make at home, but the difficulty is almost always traced back to one of three things: the wrong urad dal, batter that is too thin, or oil that is not hot enough.
Get those three things right and medu vada is actually one of the more forgiving South Indian recipes. This guide covers the complete fool proof method from dal selection to frying, with every detail that makes the difference between a vada that holds its shape and one that does not.
What Makes a Good Medu Vada?
A good medu vada has four characteristics that are non negotiable:
Crispy, golden brown exterior that holds its crunch for at least 15 to 20 minutes after frying
Soft, airy interior that is fully cooked through with no dense or doughy centre
Clean ring shape that holds during frying without spreading or collapsing
Not excessively oily, which is a sign of correct frying temperature
All four of these characteristics depend on the batter. And the batter depends on the urad dal.
What Type of Urad Dal Is Best for Medu Vada?
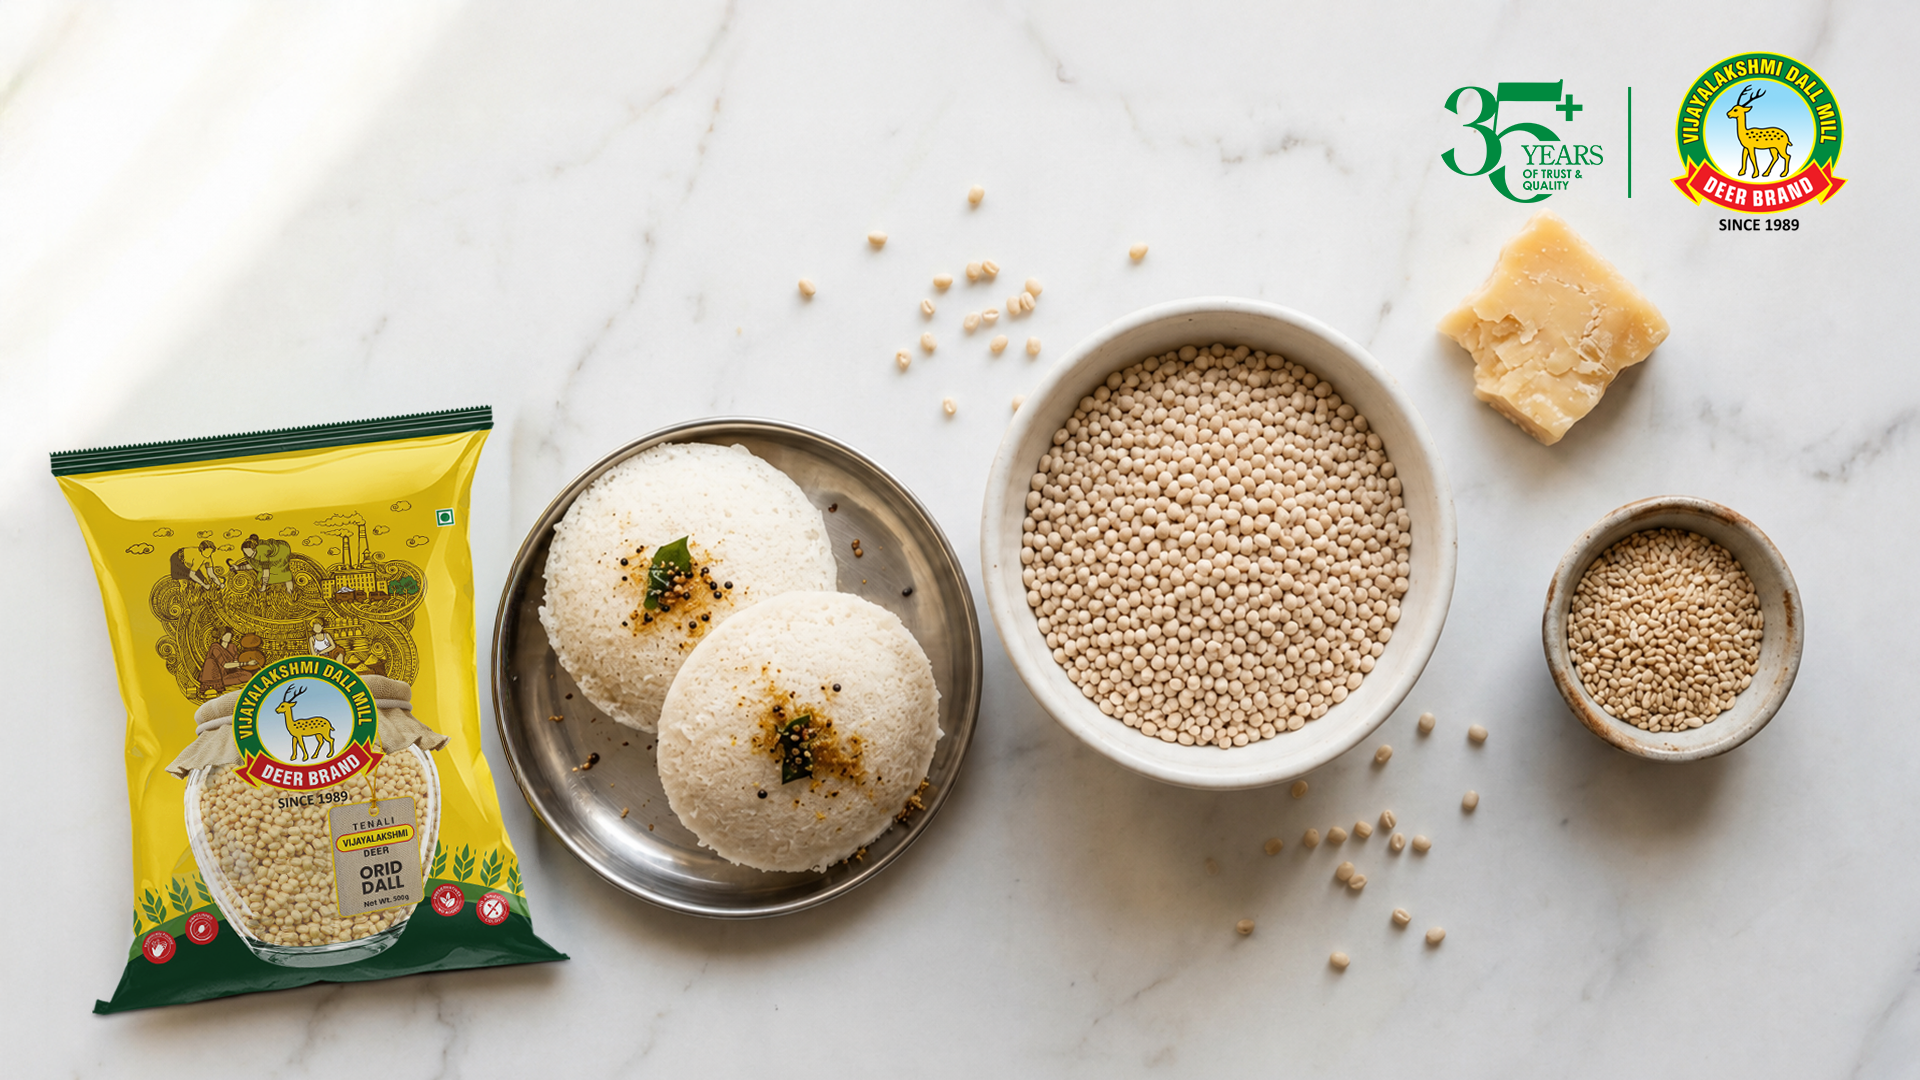
White dehusked urad dal is the only variety that produces the right batter consistency for medu vada. The mucilage in white urad dal is what gives the batter its binding strength and its ability to hold a shape when dropped into hot oil. Whole black urad dal with the skin intact produces a heavier, denser batter that does not aerate as well during grinding.
Within white urad dal, freshness is the critical variable. Fresh dal with intact mucilage produces a batter that is thick, airy, and holds its shape. Old or over processed dal produces a batter that is thinner and weaker, which means the vadas spread in the oil rather than holding their ring shape.
This is the most common reason home made medu vada fails. The recipe is followed correctly but the dal is not fresh enough to produce the right batter consistency.
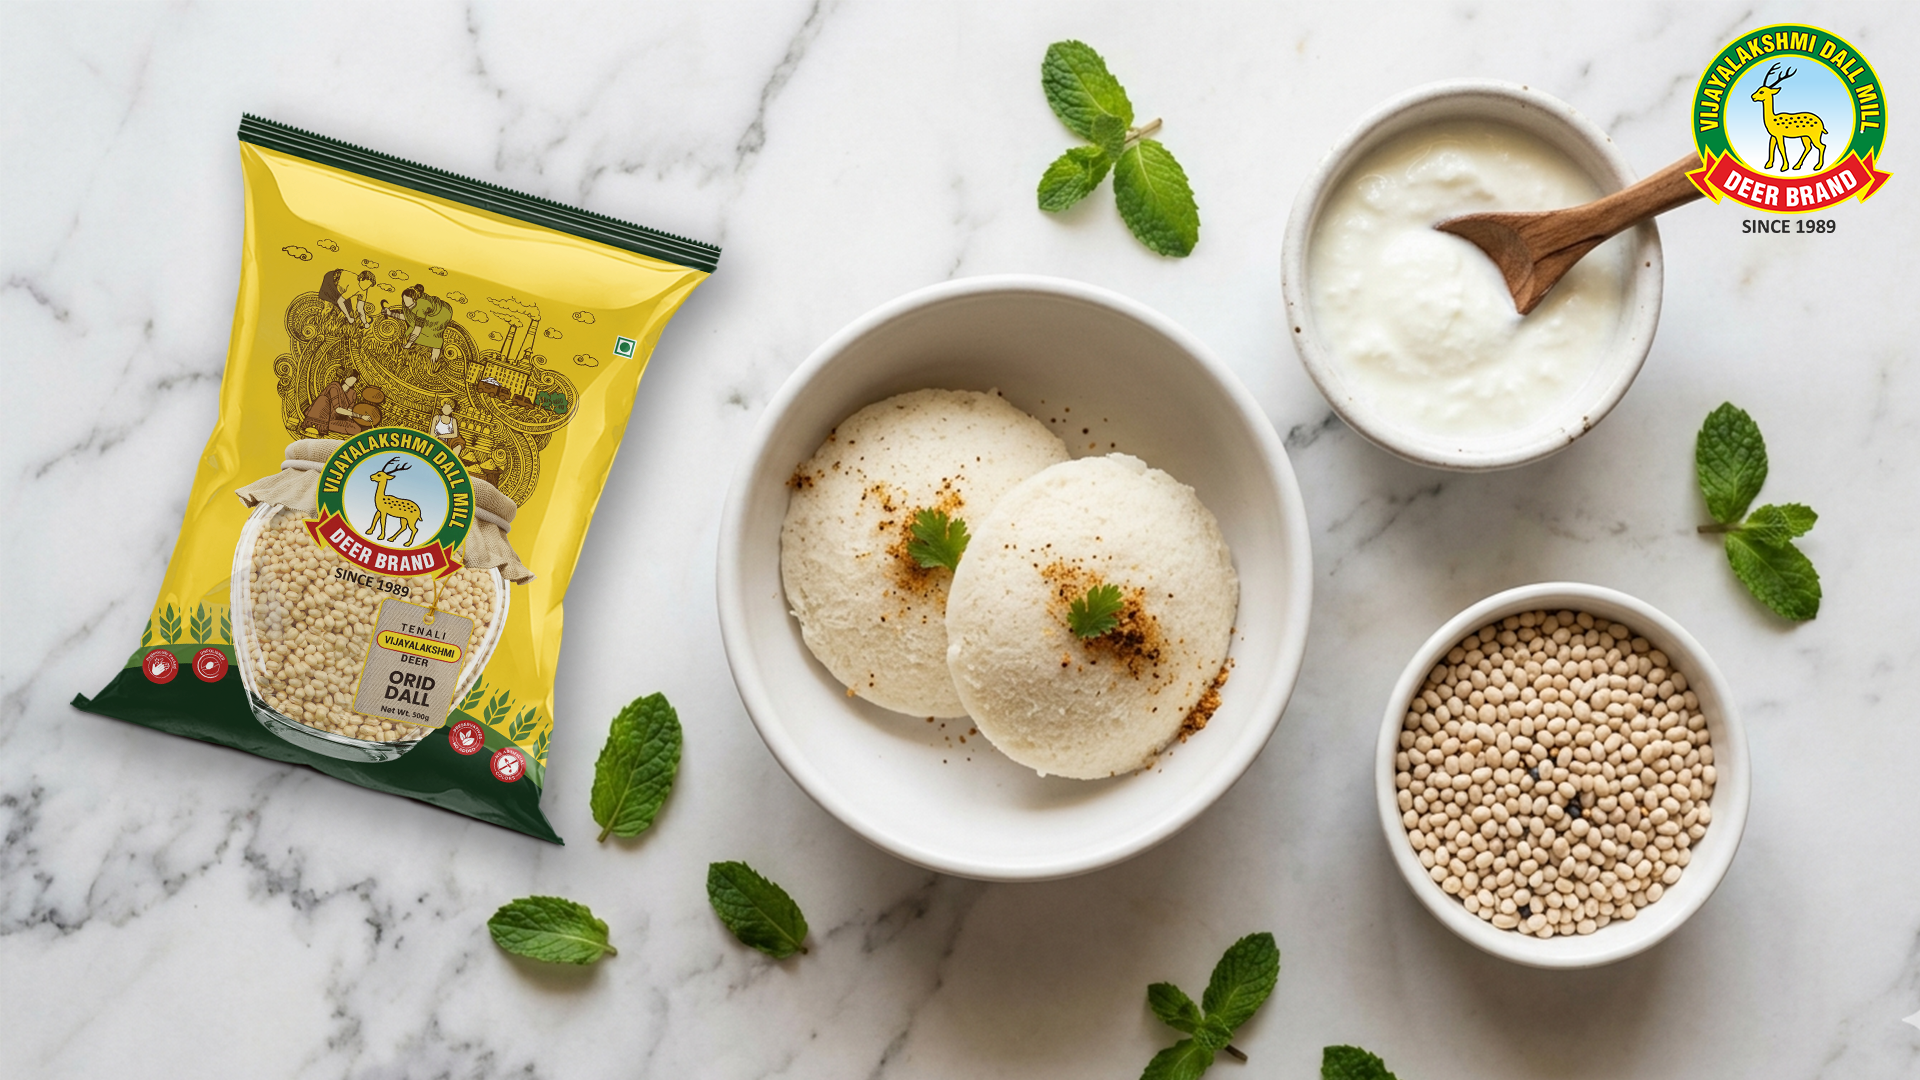
For consistently good results use high-quality urad dal for idli and dosa from a reliable source. The same quality dal that produces reliable idli batter produces reliable medu vada batter.
Ingredients
For approximately 12 to 15 vadas:
White urad dal: 1 cup
Fresh ginger: 1 inch piece, finely chopped
Green chillies: 2, finely chopped
Fresh curry leaves: 10 to 12 leaves, finely chopped
Black pepper: 1 teaspoon, coarsely crushed
Cumin seeds: 1 teaspoon
Salt: to taste
Water: minimal, for grinding only
Oil: for deep frying
Step by Step Method
Step 1 Soaking the dal
Measure 1 cup of white urad dal into a bowl
Rinse 2 to 3 times until the water runs clear
Cover with fresh water, at least 3 inches above the dal
Soak for exactly 4 hours not more, not less
Soaking for longer than 4 hours makes the batter too soft and the vadas will not hold their shape
Drain completely before grinding
Step 2 Grinding the batter
This is the most important step. The batter needs to be thick, smooth, and airy.
Drain the soaked dal completely shake the strainer to remove excess water
Add the dal to your grinder or blender in batches
Start grinding with absolutely no water
Add water only a teaspoon at a time if the grinder struggles use as little as possible
Grind for 10 to 15 minutes until the batter is completely smooth
The batter should be very thick, almost like a soft dough, not pourable
Transfer to a bowl and check the consistency when you drop a small ball of batter into a bowl of water it should float. If it sinks the batter is too thin and will not produce good vadas
If using a mixie, grind in short bursts of 30 seconds with rest intervals to prevent heat build-up
Step 3 Adding the flavourings
Add finely chopped ginger, green chillies, curry leaves, crushed black pepper, cumin seeds, and salt to the batter
Mix thoroughly using your hand for 2 to 3 minutes
The mixing also incorporates air into the batter which helps with the texture
Taste and adjust salt
Step 4 Resting the batter
Cover the bowl and rest the batter for 15 to 20 minutes before frying
Do not rest for longer than 30 minutes as the batter will begin to loosen
If the weather is very hot, rest in the refrigerator for 15 minutes to keep the batter firm
Step 5 Shaping the vadas
This is the step most people find difficult. Here is the easiest method:
Keep a small bowl of water beside you for wetting your hands
Heat the oil in a deep pan to 180 degrees Celsius before you start shaping
Wet both hands with water
Take a small ball of batter, roughly the size of a large lemon, in your palm
Flatten it gently into a disc shape about 1 cm thick
Use your thumb to make a hole in the centre, widening it gently to form the ring shape
The hole should be about 2 to 3 cm wide as it will close slightly during frying
Alternatively, shape the vada on a wet plastic sheet or banana leaf and slide it directly into the oil
Step 6 Frying
Test the oil temperature by dropping a small amount of batter into it. It should rise to the surface immediately and sizzle vigorously. If it sinks, the oil is not hot enough.
Gently slide 3 to 4 vadas into the oil at a time do not overcrowd the pan
Fry on medium high heat for 2 minutes without touching them
Flip carefully using a slotted spoon
Fry for another 2 to 3 minutes until deep golden brown on both sides
Remove and drain on absorbent paper
Serve immediately for maximum crispiness
Why Are My Medu Vadas Coming Out Oily?
Oily vadas are almost always caused by oil that is not hot enough when the vadas are added. When the oil temperature is correct, the surface of the vada seals immediately on contact with the oil, preventing absorption. When the oil is too cool, the vada absorbs oil before the surface has a chance to seal.
Always let the oil come to full temperature before adding the first batch. Between batches, allow the oil to return to temperature before adding the next set.
Why Are My Vadas Not Holding Their Shape?
There are three possible causes:
Batter is too thin too much water was added during grinding. The float test is the most reliable check. If the batter does not float in water it will not hold its shape in oil.
Dal is not fresh enough old dal does not produce sufficient mucilage for binding. Switch to fresher dal and test again.
Soaking time was too long over soaked dal produces a softer batter with less binding strength. Stick to exactly 4 hours.
Serving Suggestions
Medu vada is traditionally served with:
Coconut chutney — the classic accompaniment
Sambar — for dipping or pouring over
Tomato chutney — a tangier alternative to coconut chutney
It is also eaten as sambar vada, where the freshly fried vadas are submerged in hot sambar for a few minutes until they absorb the liquid and become soft throughout. This is a completely different eating experience from crispy vada and equally beloved across South India.
Frequently Asked Questions
Why is my medu vada batter too thin? The most common cause is adding too much water during grinding. The batter for medu vada should be much thicker than idli batter. Add water only a teaspoon at a time during grinding and stop as soon as the grinder is moving smoothly. Run the float test drop a small ball of batter into water. If it floats, the consistency is correct. If it sinks, the batter is too thin.
Can I make medu vada batter the night before? Yes, but with caution. The batter can be ground and stored in the refrigerator overnight without the salt and flavourings. Add salt, ginger, chillies, and spices just before frying. Do not add salt to batter that will be stored as salt draws out moisture and thins the batter over time.
Can I use split urad dal for medu vada? Split urad dal produces a weaker batter with less mucilage than whole white urad dal. The vadas are more likely to spread and lose their shape. Whole white urad dal is the correct variety for medu vada.
How do I make the hole in the vada without it breaking? Wet your hands thoroughly before shaping each vada. Flatten the batter gently without pressing too hard, then use your thumb to push through from the centre rather than pinching from the edges. A wetter hand and a lighter touch produces a cleaner hole without tearing.
How long do medu vadas stay crispy? Freshly fried medu vadas stay crispy for 15 to 20 minutes. After that the steam from the interior softens the crust. For maximum crispiness serve immediately after frying. If you need to hold them for a short time, place them on a wire rack rather than absorbent paper so air circulates around the entire vada.
The Bottom Line
Medu vada is not a difficult recipe once you understand what drives the result. The batter needs to be thick enough to float in water, the dal needs to be fresh enough to produce that thickness naturally, and the oil needs to be hot enough to seal the surface immediately on contact.
Start with good quality white urad dal, soak for exactly 4 hours, grind with minimal water, and fry at the right temperature. The rest takes care of itself.
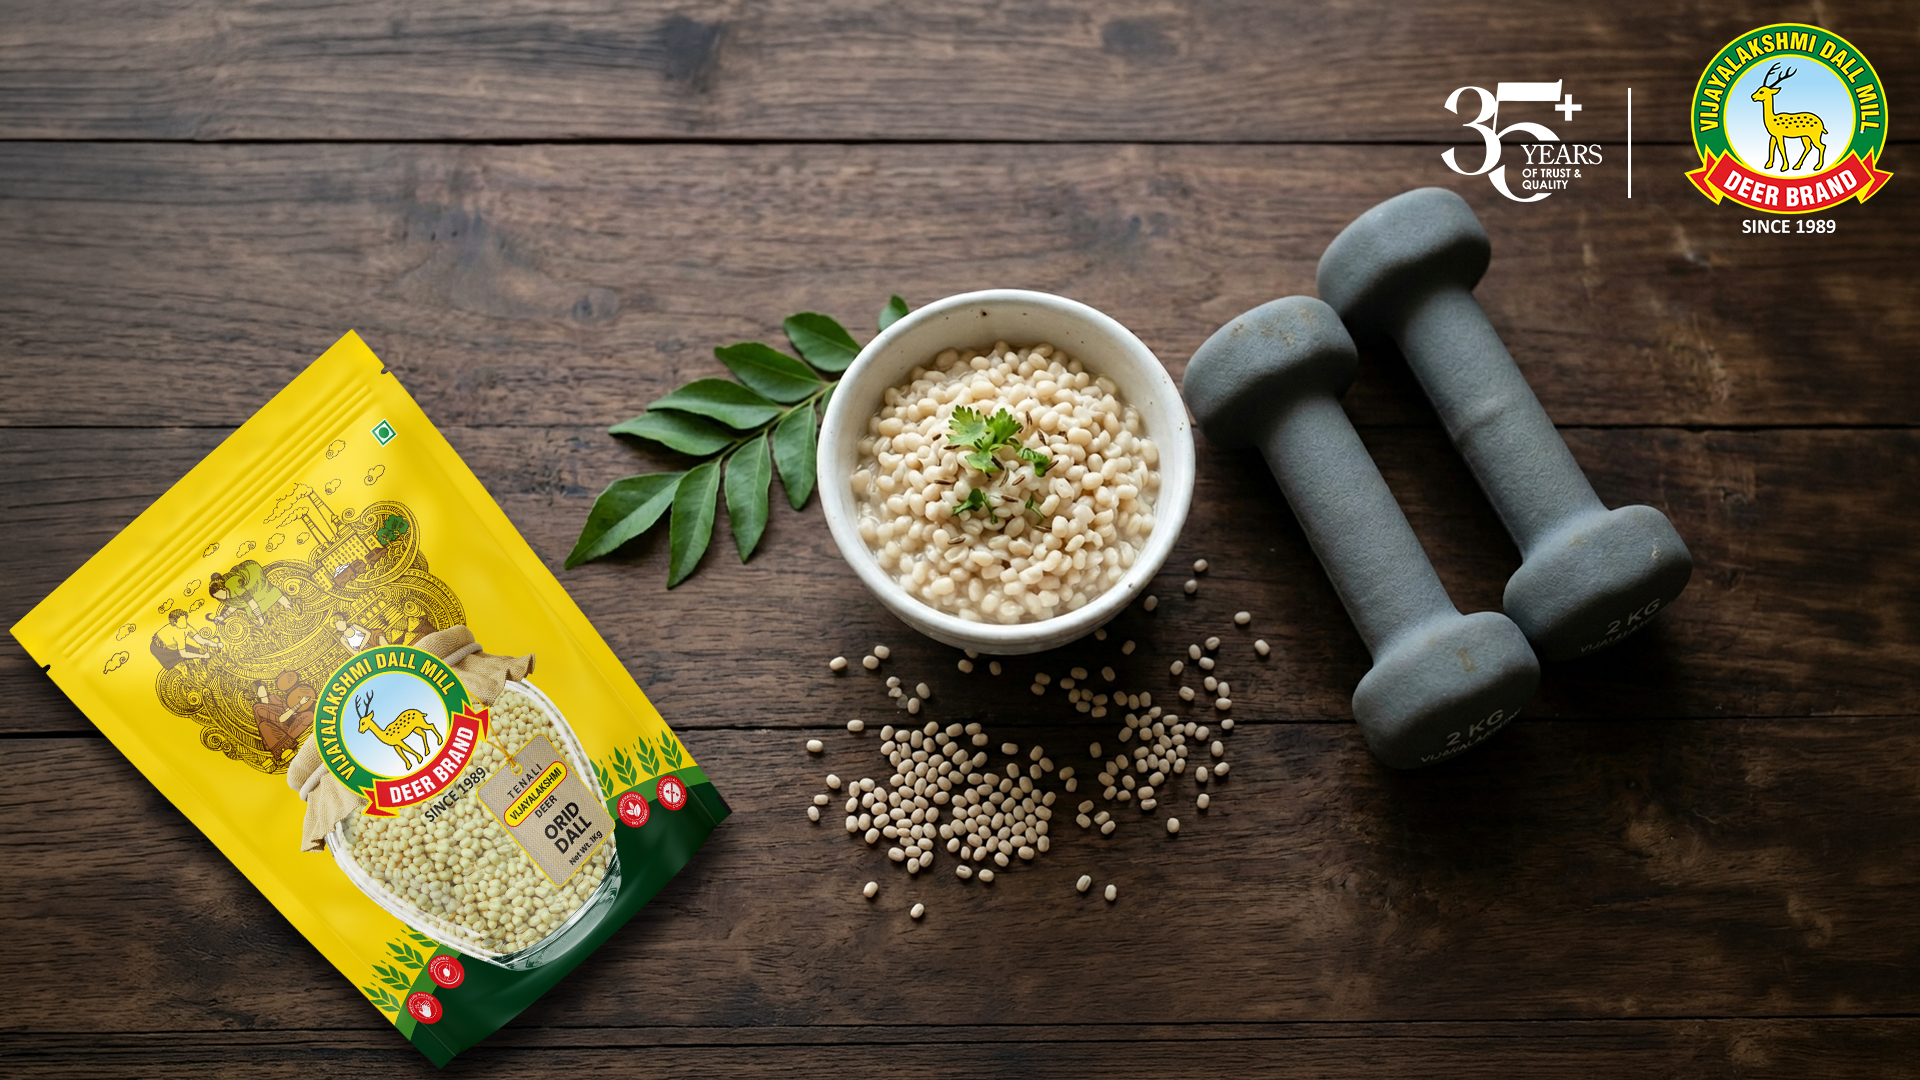
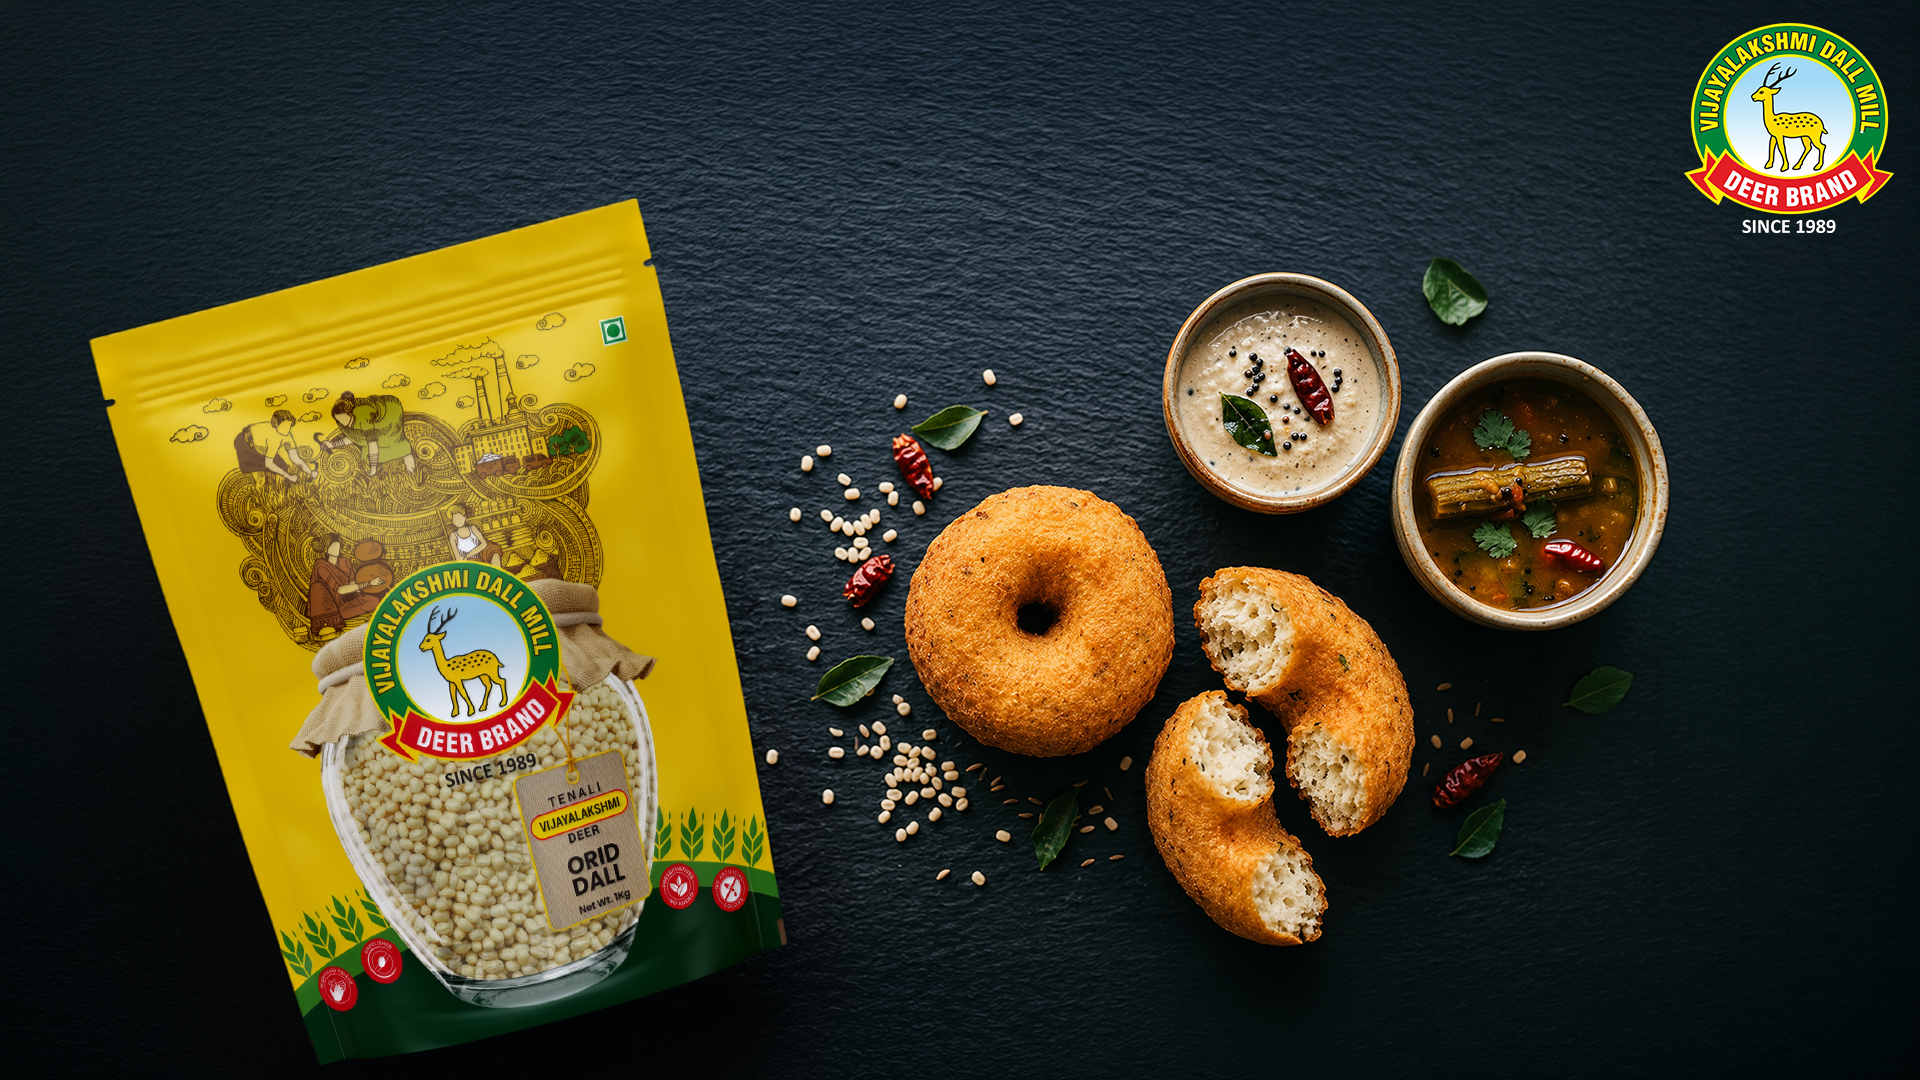
For urad dal that produces the right batter consistency every time, buy Deer Brand natural urad dal — naturally processed at our Tenali mills and available on JioMart, Amazon, and Flipkart.
Published by the Deer Brand Team Vijayalakshmi Dall Mills, manufacturers of premium natural urad dal in Tenali, Andhra Pradesh since 1989.